Sharing the outputs
of your GIS work with other people on the globe has become a common
practice nowadays. The methods used in sharing this information
matters and depends on a number of things;the availability of storage
space to store your datasets, the cost of operating a web map,user
interactivity of your web maps,the kind of technology the web map
uses and many more.
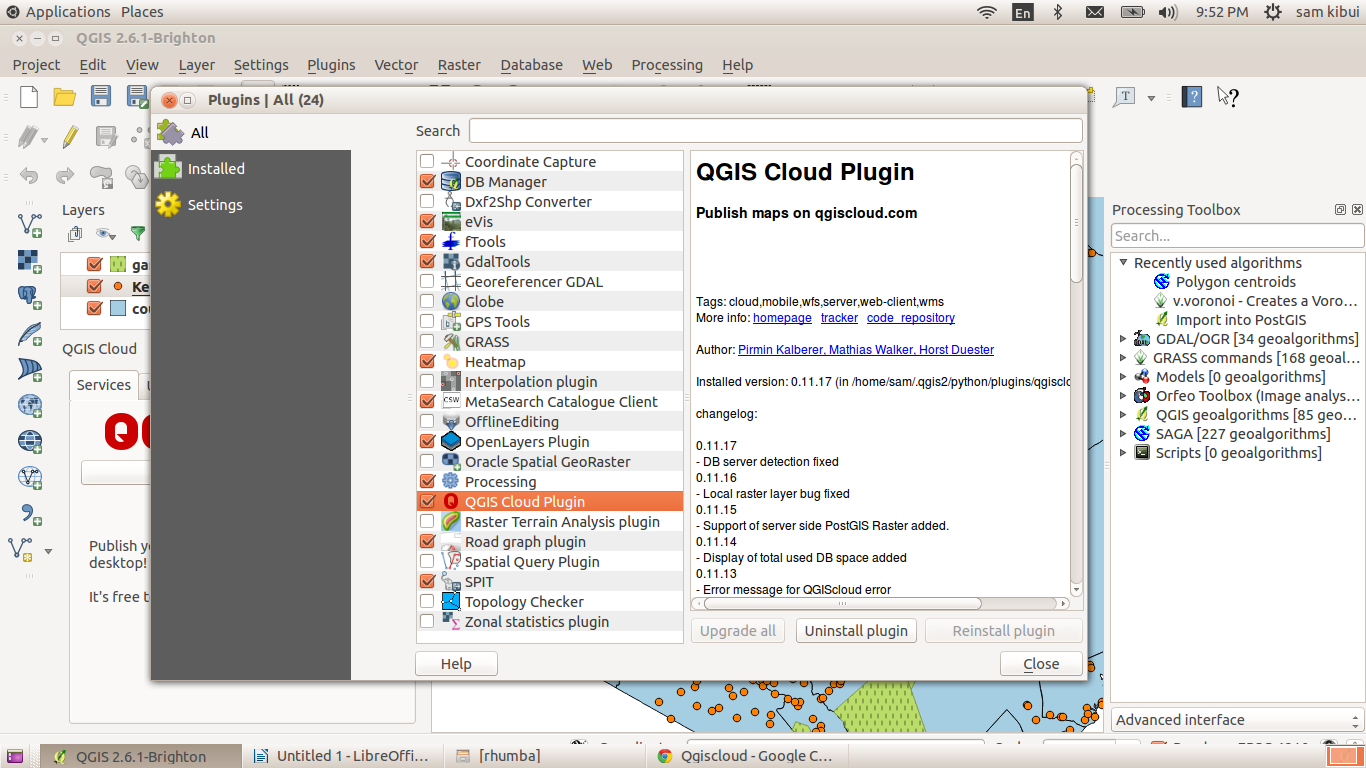
QGIS have the
QGISCloud that is can be used to publish maps online within FIVE
minutes.Another advantage is that QGIS is Open Source thus no worry
of startup costs.This tutorial will demostrate how to publish a map
using QGISCloud.
Steps
To publish a map
using QGISCloud, you need to first install the QGISCloud Plugin.This
can be done at “Manage and Install plugins” under the Plugins
Menu in QGIS
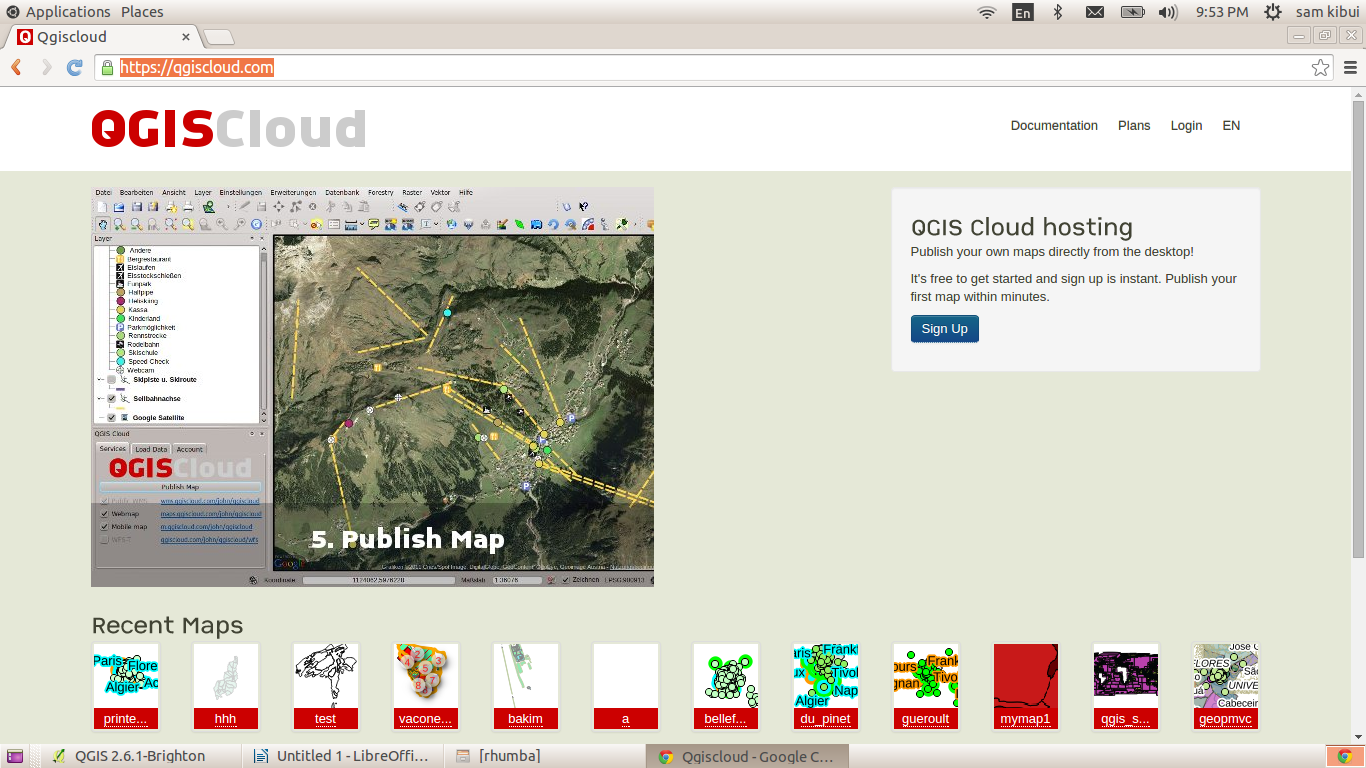
After installing
QGISCloud, we need to create a Database on the Cloud.This is done at
http://qgiscloud.com.We need
to Sign Up to access the platform.
After “Sign Up”
we need to login into our account.In this demostration we will use
the “QGIS Cloud Free”

We get back to our
QGIS application and login into our account using the QGISCloud
plugin.We will create a database using the “Create Database”
button.The database name will be displayed in the list box above.

I assume you already
have your layers loaded in QGIS as seen in the Figure above.
We now access the
“Upload Data” tab to get our layers ready for upload.If no layers
are loaded , Click on “Refresh”.Hit on the “Upload data”
button.The layers will be uploaded.

After Upload, the
data should be ready for publishing .Click on Save.The “Publish
Map” option should be added below the “Upload data” button.Hit
on the Publish Map.

The map is published
and can now be seen on our cloud account.

Click on “Show”
to view the web map we just created.
We just created a
comprehensive web map in FIVE minutes. The web map is now online for
viewing by anyone who has the link.
